
The Snow Scene die set from the John Next Door range lends itself perfectly to this Z fold style card.
Despite looking a bit technical, its really simple and yet very effective so here is a little tutorial for you
First of all take an A4 sheet of card cut along the long edge at 10"

Along that same long edge, score at 5" and 2.5"
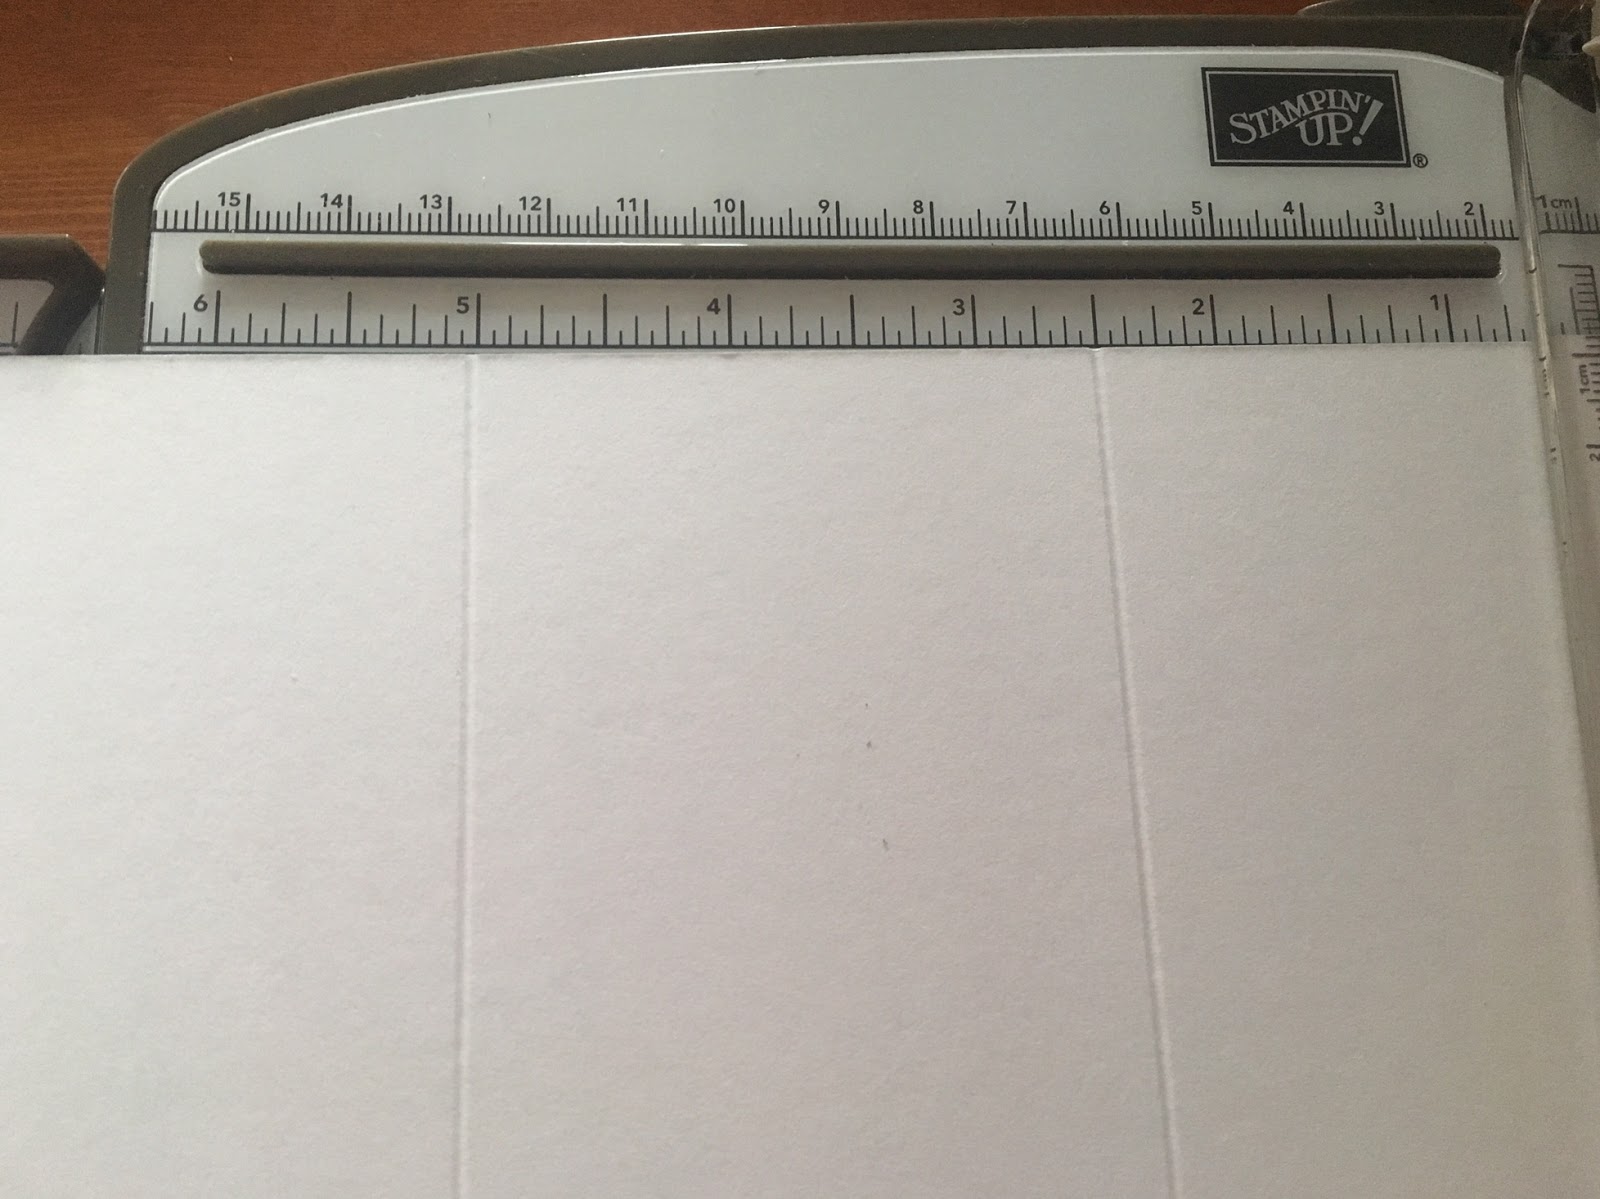
Turn the card 90 degrees and cut at 5", leaving you two scored pieces. The largest is the base card and the smaller is for the snow scene

I have then taken a piece of Sapphire Lustre card and cut one piece 4.75" x 4.75" and two pieces 4.75" x 2.25". Using the Snowdrop embossing folder I have run these pieces through giving a snowy effect. Use a sandpaper scrub to remove the top surface showing the white core giving an even more snowy look

Add panels to the card base.
Take two of the Snow Scene dies and place as shown. It is important to put the dies in the correct place with the outer edge on the edge of the card. They dont quite meet in the middle but are very easy to trim.


I have then cut another snow scene to put on the back of the card

The village is now ready to stick to the card base

You simply attach the first half of the front village scene to the first panel and the far right panel to the far right corner of the base card. This is how is looks folded flat

and this is how it looks folded up, fitting into a 5" square envelope.
I have used the JND Happy Snowflake die set for the sentiment and snowflakes
All products available on the website www.maximumcrafts.com


Thank you for the very clear instructions I have made a version of this card. Have a great weekend. Hugs Jackie
ReplyDeleteWhat a lovely card. I wondered where you got your sapphire lustre card from please? sy
ReplyDelete